I have to admit I really don’t have the patience to bake, apart from simple brownies and flapjacks I often stick to cooking and leave the baking to someone a lot calmer than I am.
However, on Mother’s Day I decided that it was time to regain some patience, put aside my baking fear and make a Victoria sponge for the family to enjoy.
I know you are all probably thinking that it doesn’t get much simpler than a Victoria Sponge, but believe me I have made many sponge cakes which could quite possible knock someone out or on the other hand be referred to as a pancake; they are often sunken and flat or far too heavy!
This is why I decided to turn to baking queen Mary Berry and follow her guidance word for word and thank goodness it paid off. Please don’t be put off, I am a pretty decent cook, I just find mixing, baking, cooling and decorating quite a long process for something that can be bought from a Lakes tea shop and enjoyed just as much.
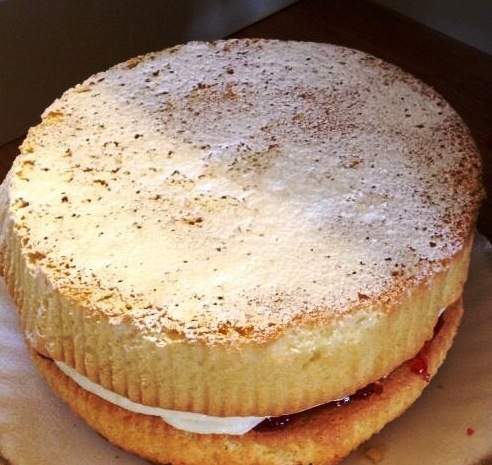
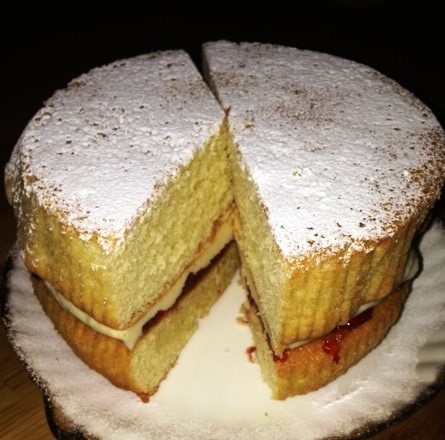
Mary Berry’s recipe was easy to follow, relatively quick to make and the end results were perfect; the sponge was light, fluffy and delicate, with just enough sweetness to refrain from being too sickly with the butter cream
A classic Victoria sponge is sandwiched together with fresh double cream, however for an extra touch of sweetness I added butter cream to mine.
Merry Berry’s Victoria Sponge Recipe via BBC Good Food:
Ingredients
- 4 free-range eggs
- 225g/8oz caster sugar
- 225g/8oz self-raising flour
- 2 tsp baking powder
- 225g/8oz soft butter at room temperature, plus a little extra to grease the tins
- Strawberry jam
- Whipped double cream or butter cream (140g/5oz softened butter, 280g/10oz icing sugar, 1-2 tbsp milk)
- A little icing Sugar to dust
Method
- Preheat the oven to 180C/350F/Gas 4.
- Grease and line 2 x 20cm/8in sandwich tins: use a piece of baking or silicone paper to rub a little baking spread or butter around the inside of the tins until the sides and base are lightly coated. Line the bottom of the tins with a circle of baking paper.
- Break the eggs into a large mixing bowl, then add the sugar, flour, baking powder and soft butter.
- Mix everything together until well combined. Be careful not to over-mix – as soon as everything is blended you should stop. The finished mixture should be of a soft ‘dropping’ consistency.
- Divide the mixture evenly between the tins. Use a spatula to remove all of the mixture from the bowl and gently smooth the surface of the cakes.
- Place the tins on the middle shelf of the oven and bake for 25 minutes. Don’t be tempted to open the door while they’re cooking, but after 20 minutes do look through the door to check them.
- The cakes are done when they’re golden-brown and coming away from the edge of the tins. Press them gently to check – they should be springy to the touch. Remove them from the oven and set aside to cool in their tins for five minutes. Then run a palette or rounded butter knife around the inside edge of the tin and carefully turn the cakes out onto a cooling rack.
- To take your cakes out of the tins without leaving a wire rack mark on the top, put the clean tea towel over the tin, put your hand onto the tea towel and turn the tin upside-down. The cake should come out onto your hand and the tea towel – then you can turn it from your hand onto the wire rack.
- Set aside to cool completely.
- To assemble the cake, place one cake upside down onto a plate and spread it with jam.
- To make the butter cream beat the butter in a large bowl until soft. Add half of the icing sugar and beat until smooth. Add the remaining icing sugar and one tablespoon of the milk and beat the mixture until creamy and smooth.
- Add the butter cream or cream (your choice) to the cake.
- Top with the second cake, top-side up. Sprinkle over the caster sugar.